
The Blog
Carrying Knowledge Forward
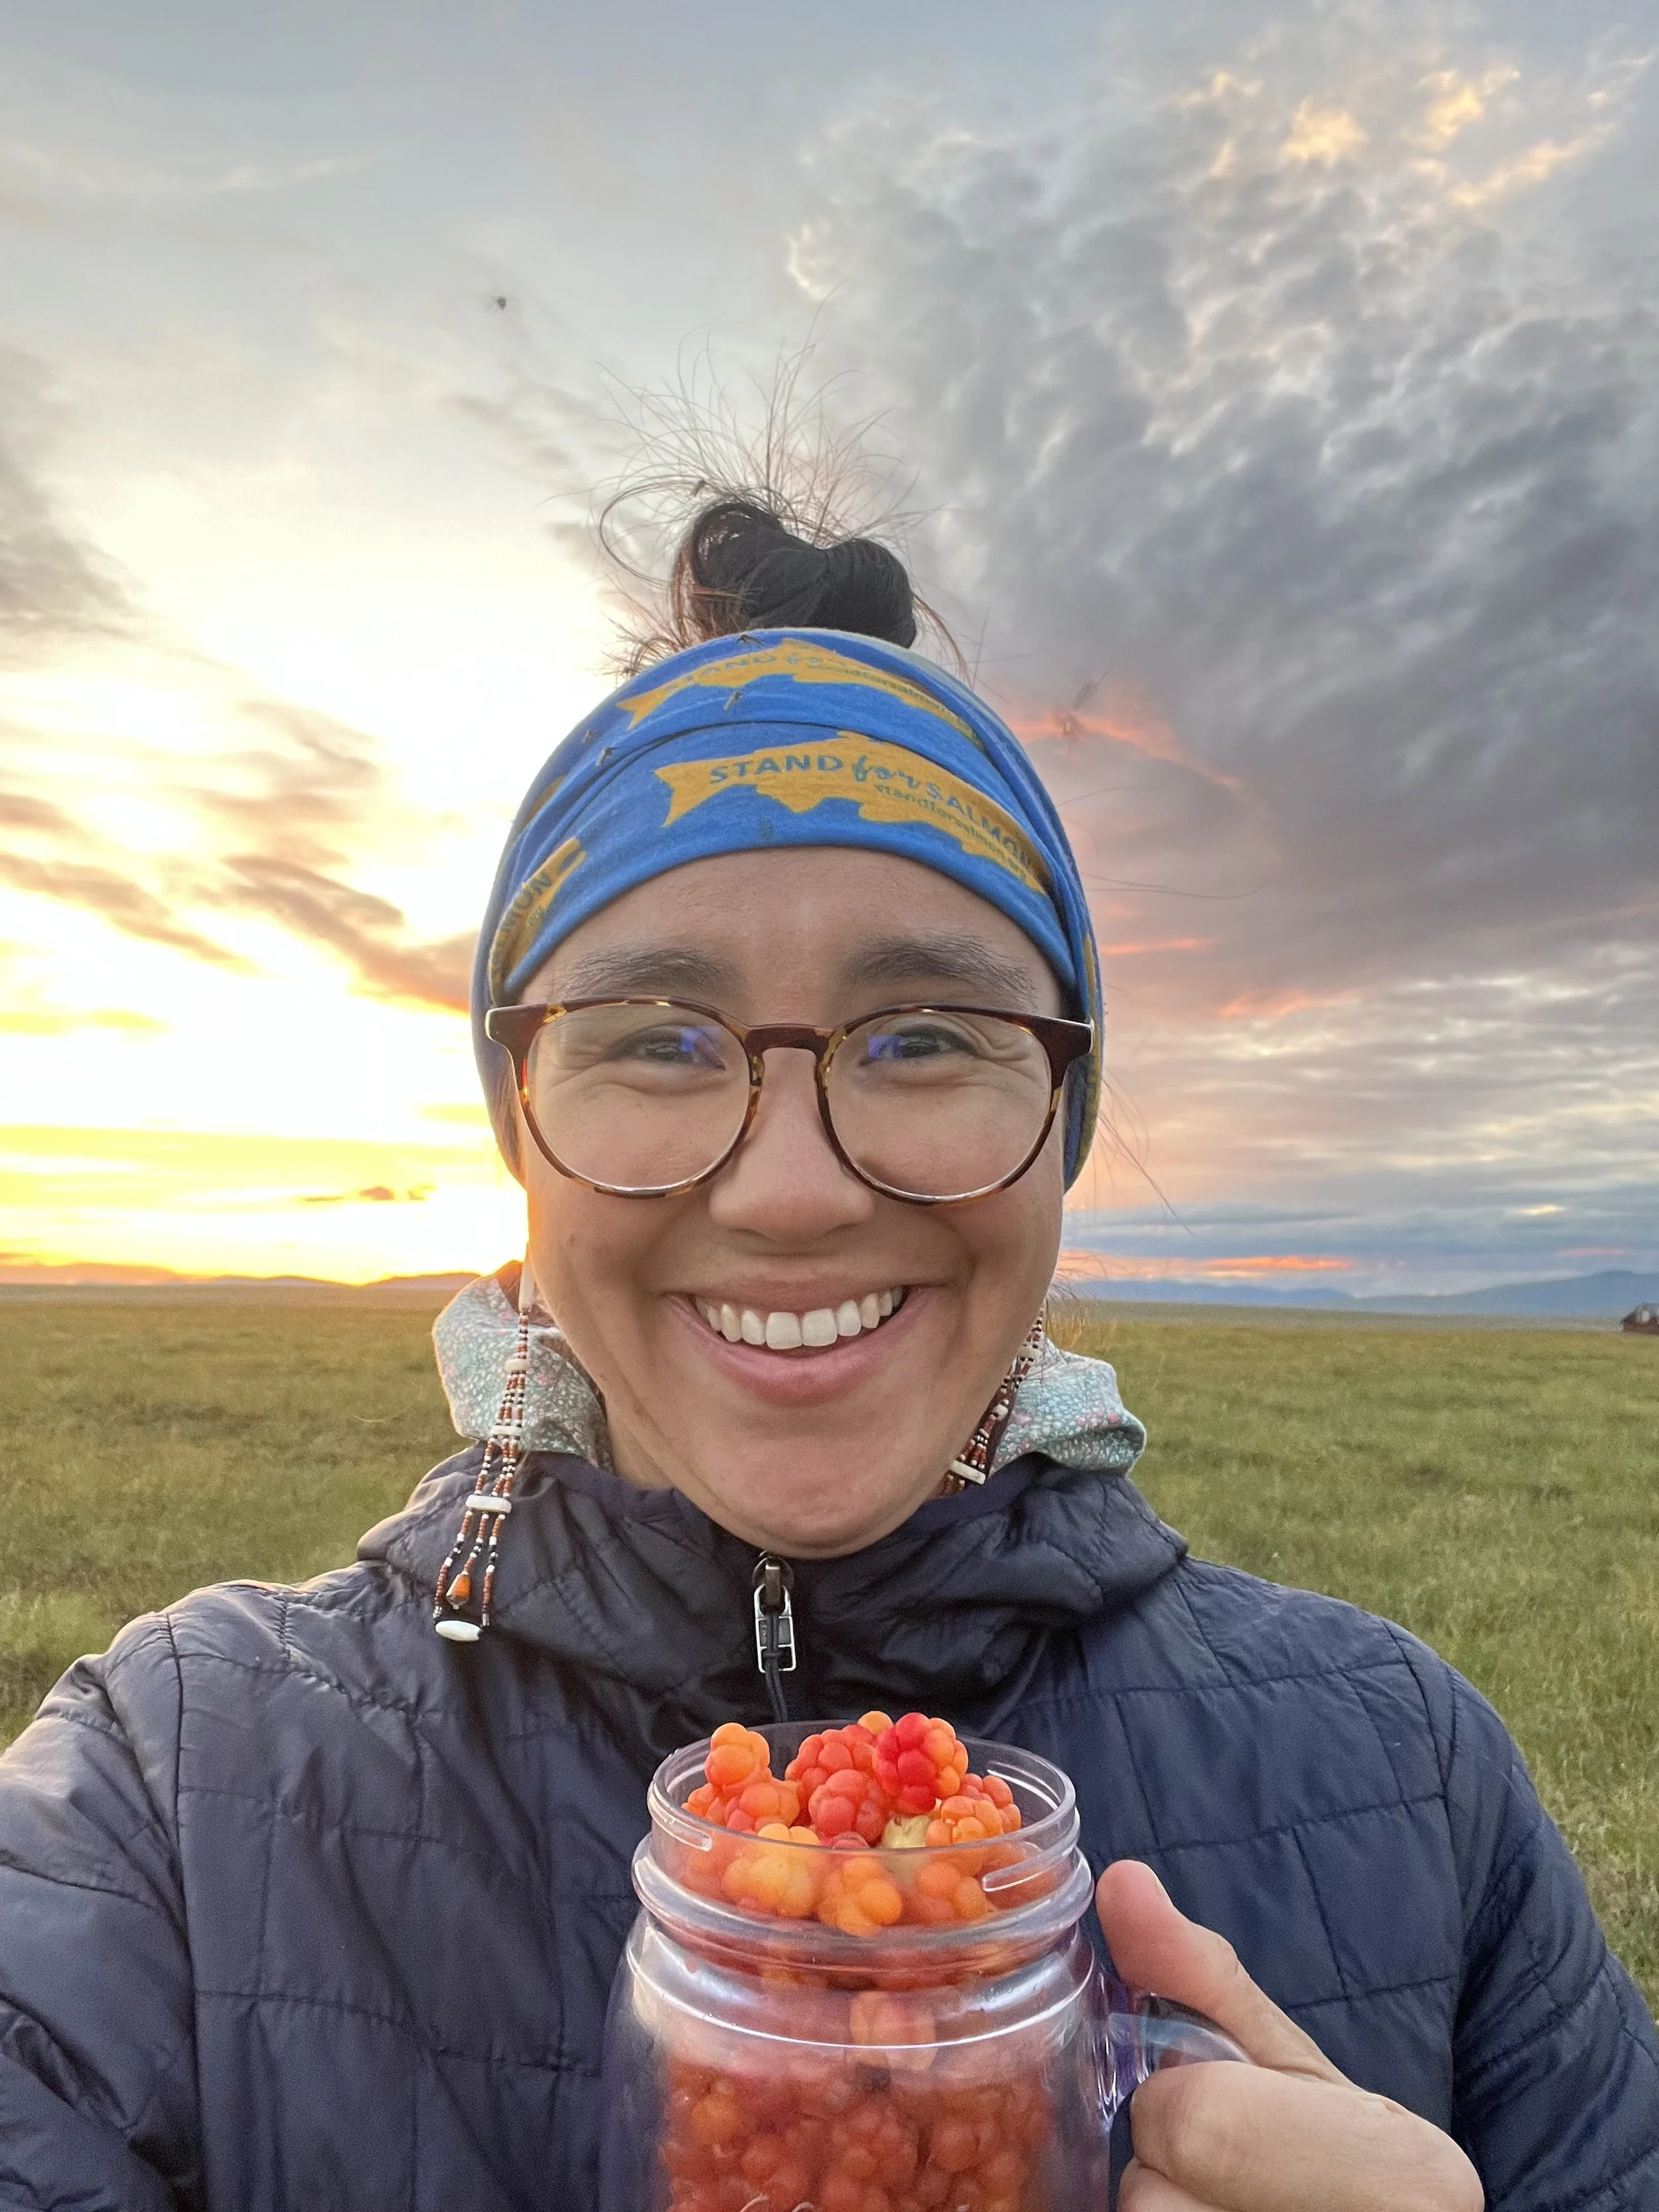
Welcome to the life of Sew Yup’ik. Reconnecting with our ancestral ways and helping others do the same.

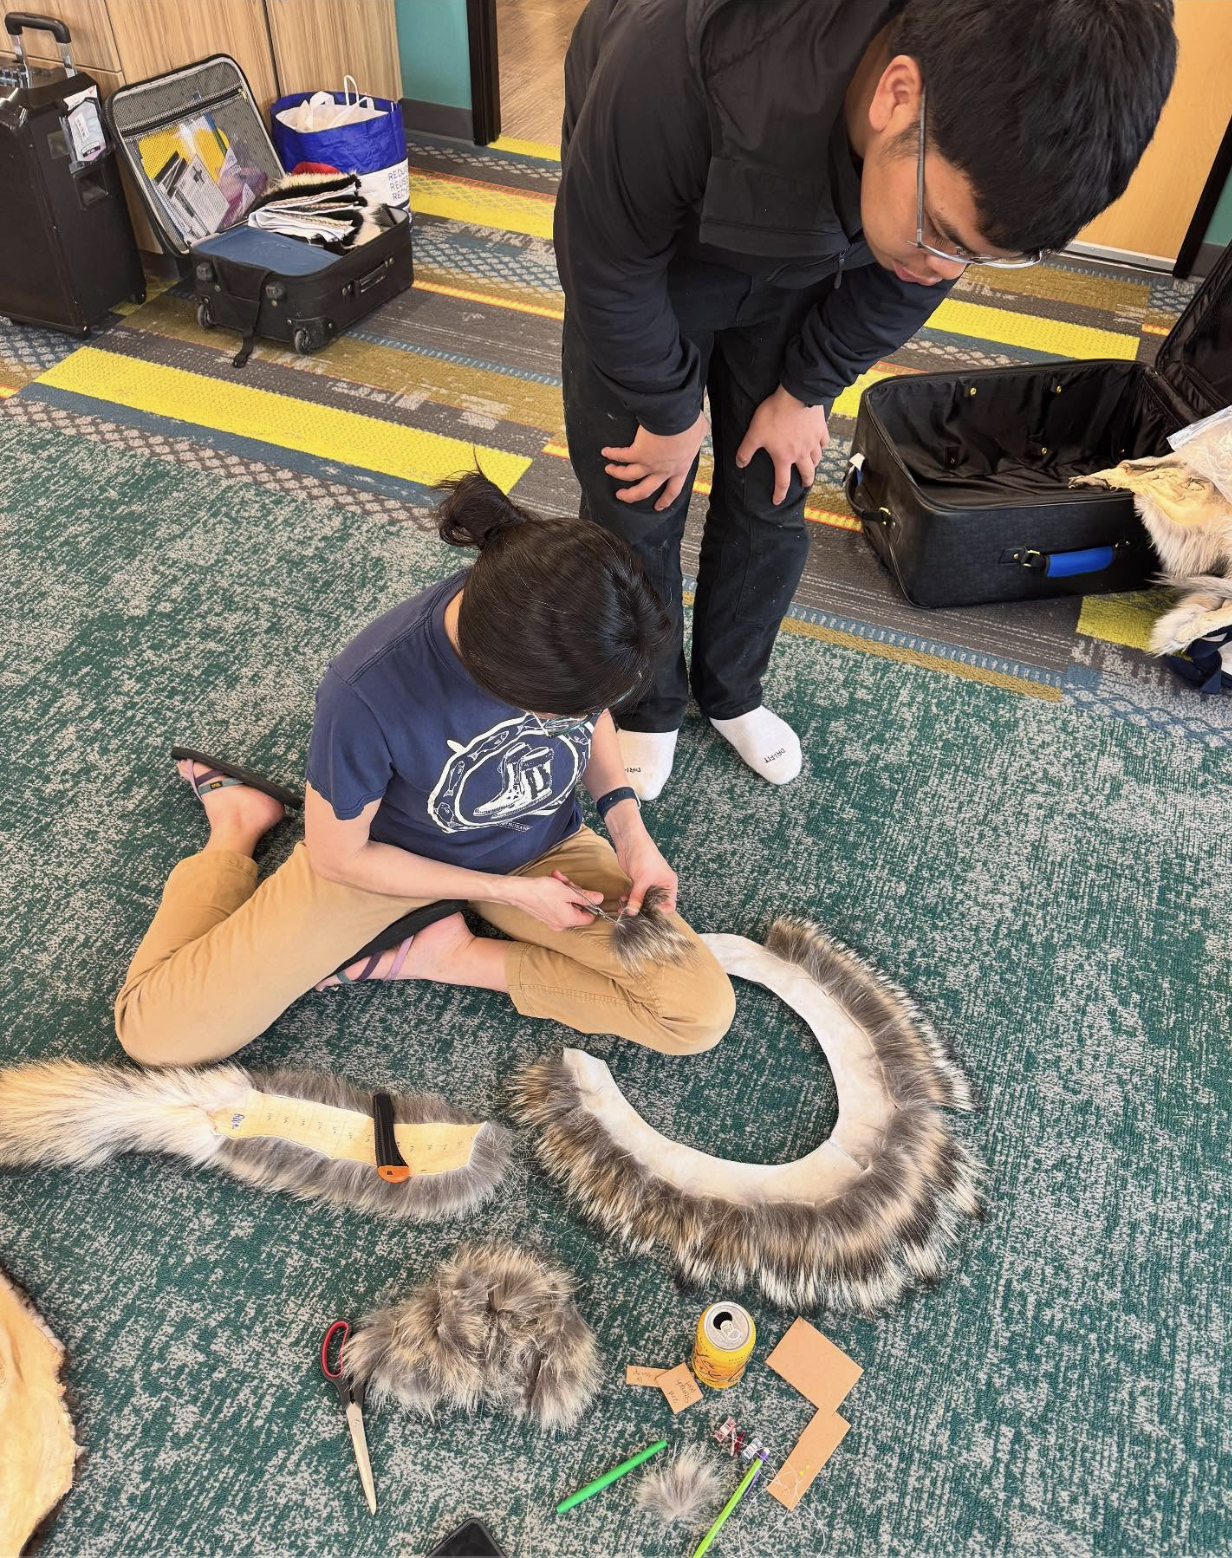
Step-by-Step Nasqurrun Making Guide
Nasqurrun (Headdress) made with decorative trimming, beaver, wolf fur, canvas, and embellished with beads.

Qaspeq Resource List
Check out this blogpost for all the qaspeq makers and qaspeq instructors.
Have you learned from one of Sew Yup’ik’s Tutorials or Blogs?
Share it with me! I’d love to see your work!