
Step-by-Step Nasqurrun Making Guide
Prepping for Nasqurrun Making
Materials Needed:
Wolf fur (cut into ½" strips) – One wolf can make approximately 15-20 nasqurruns
Beaver fur (cut into ¾" or ½" strips) – One beaver can make approximately 10-15 nasqurruns
Canvas (cut to 21" wide, 10.5" height)
Razor (for cutting skin)
Decorative trim (for karaliqs - embellishments)
Elastic or moosehide (for ties)
Beads (Size 6mm or 8mm for general beading, 10mm for finishing)
Beading needles (Glovers size 10 recommended)
D-Nymo thread (Black and white)
Sewing machine & Thread
Traditional vs. Modern Materials
Brown beaver was traditionally used.
With the introduction of dyes, black beaver was incorporated.
Today, the choice of fur color is based on personal preference.
Step-by-Step Guide to Making a Nasqurrun
Step 1: Stretch the Wolf and Beaver Skins
Wolf: Split the skin, wet it, fold it skin-to-skin, and let the water soak into the fibers before stretching.
Beaver: Block-stretch by wetting the skin, folding it skin-to-skin, letting the water soak in, then stapling it to a plywood board.
Step 2: Cut the Fur into Strips
Once stretched and dried, carefully cut the fur into the designated strip sizes.
Step 3: Prepare & Decorate the Canvas
Hem the edges: Fold ¼" down and sew to create a clean edge.
Cut and iron:
Cut canvas into 21" x 10.5" pieces.
Fold in half and iron to create a crease.
Decorate:
Start decorating one side only (the side with the crease).
Begin with karaliqs and work your way toward the end.
Sew fur pieces:
First, attach karaliqs.
Next, sew beaver fur using a sewing machine.
Finally, layer and sew wolf fur on top.
💡 Need a visual guide? Check out my Sew Yup'ik YouTube channel!
Step 4: Finish the Edges
Sew both ends down with a ¼" seam to complete the edges.
Step 5: Add Beadwork
Mark Placement:
Try on the nasqurrun and mark the end of your eyebrows—this is where the beading will start.
Bead as Desired:
The amount of beadwork is your choice!
Step 6: Attach the Ties
Sew one side with elastic or moosehide ties.
Adjust and sew the other side accordingly.
Final stitching: Sew the top canvas edges together, avoiding sewing into the wolf fur.
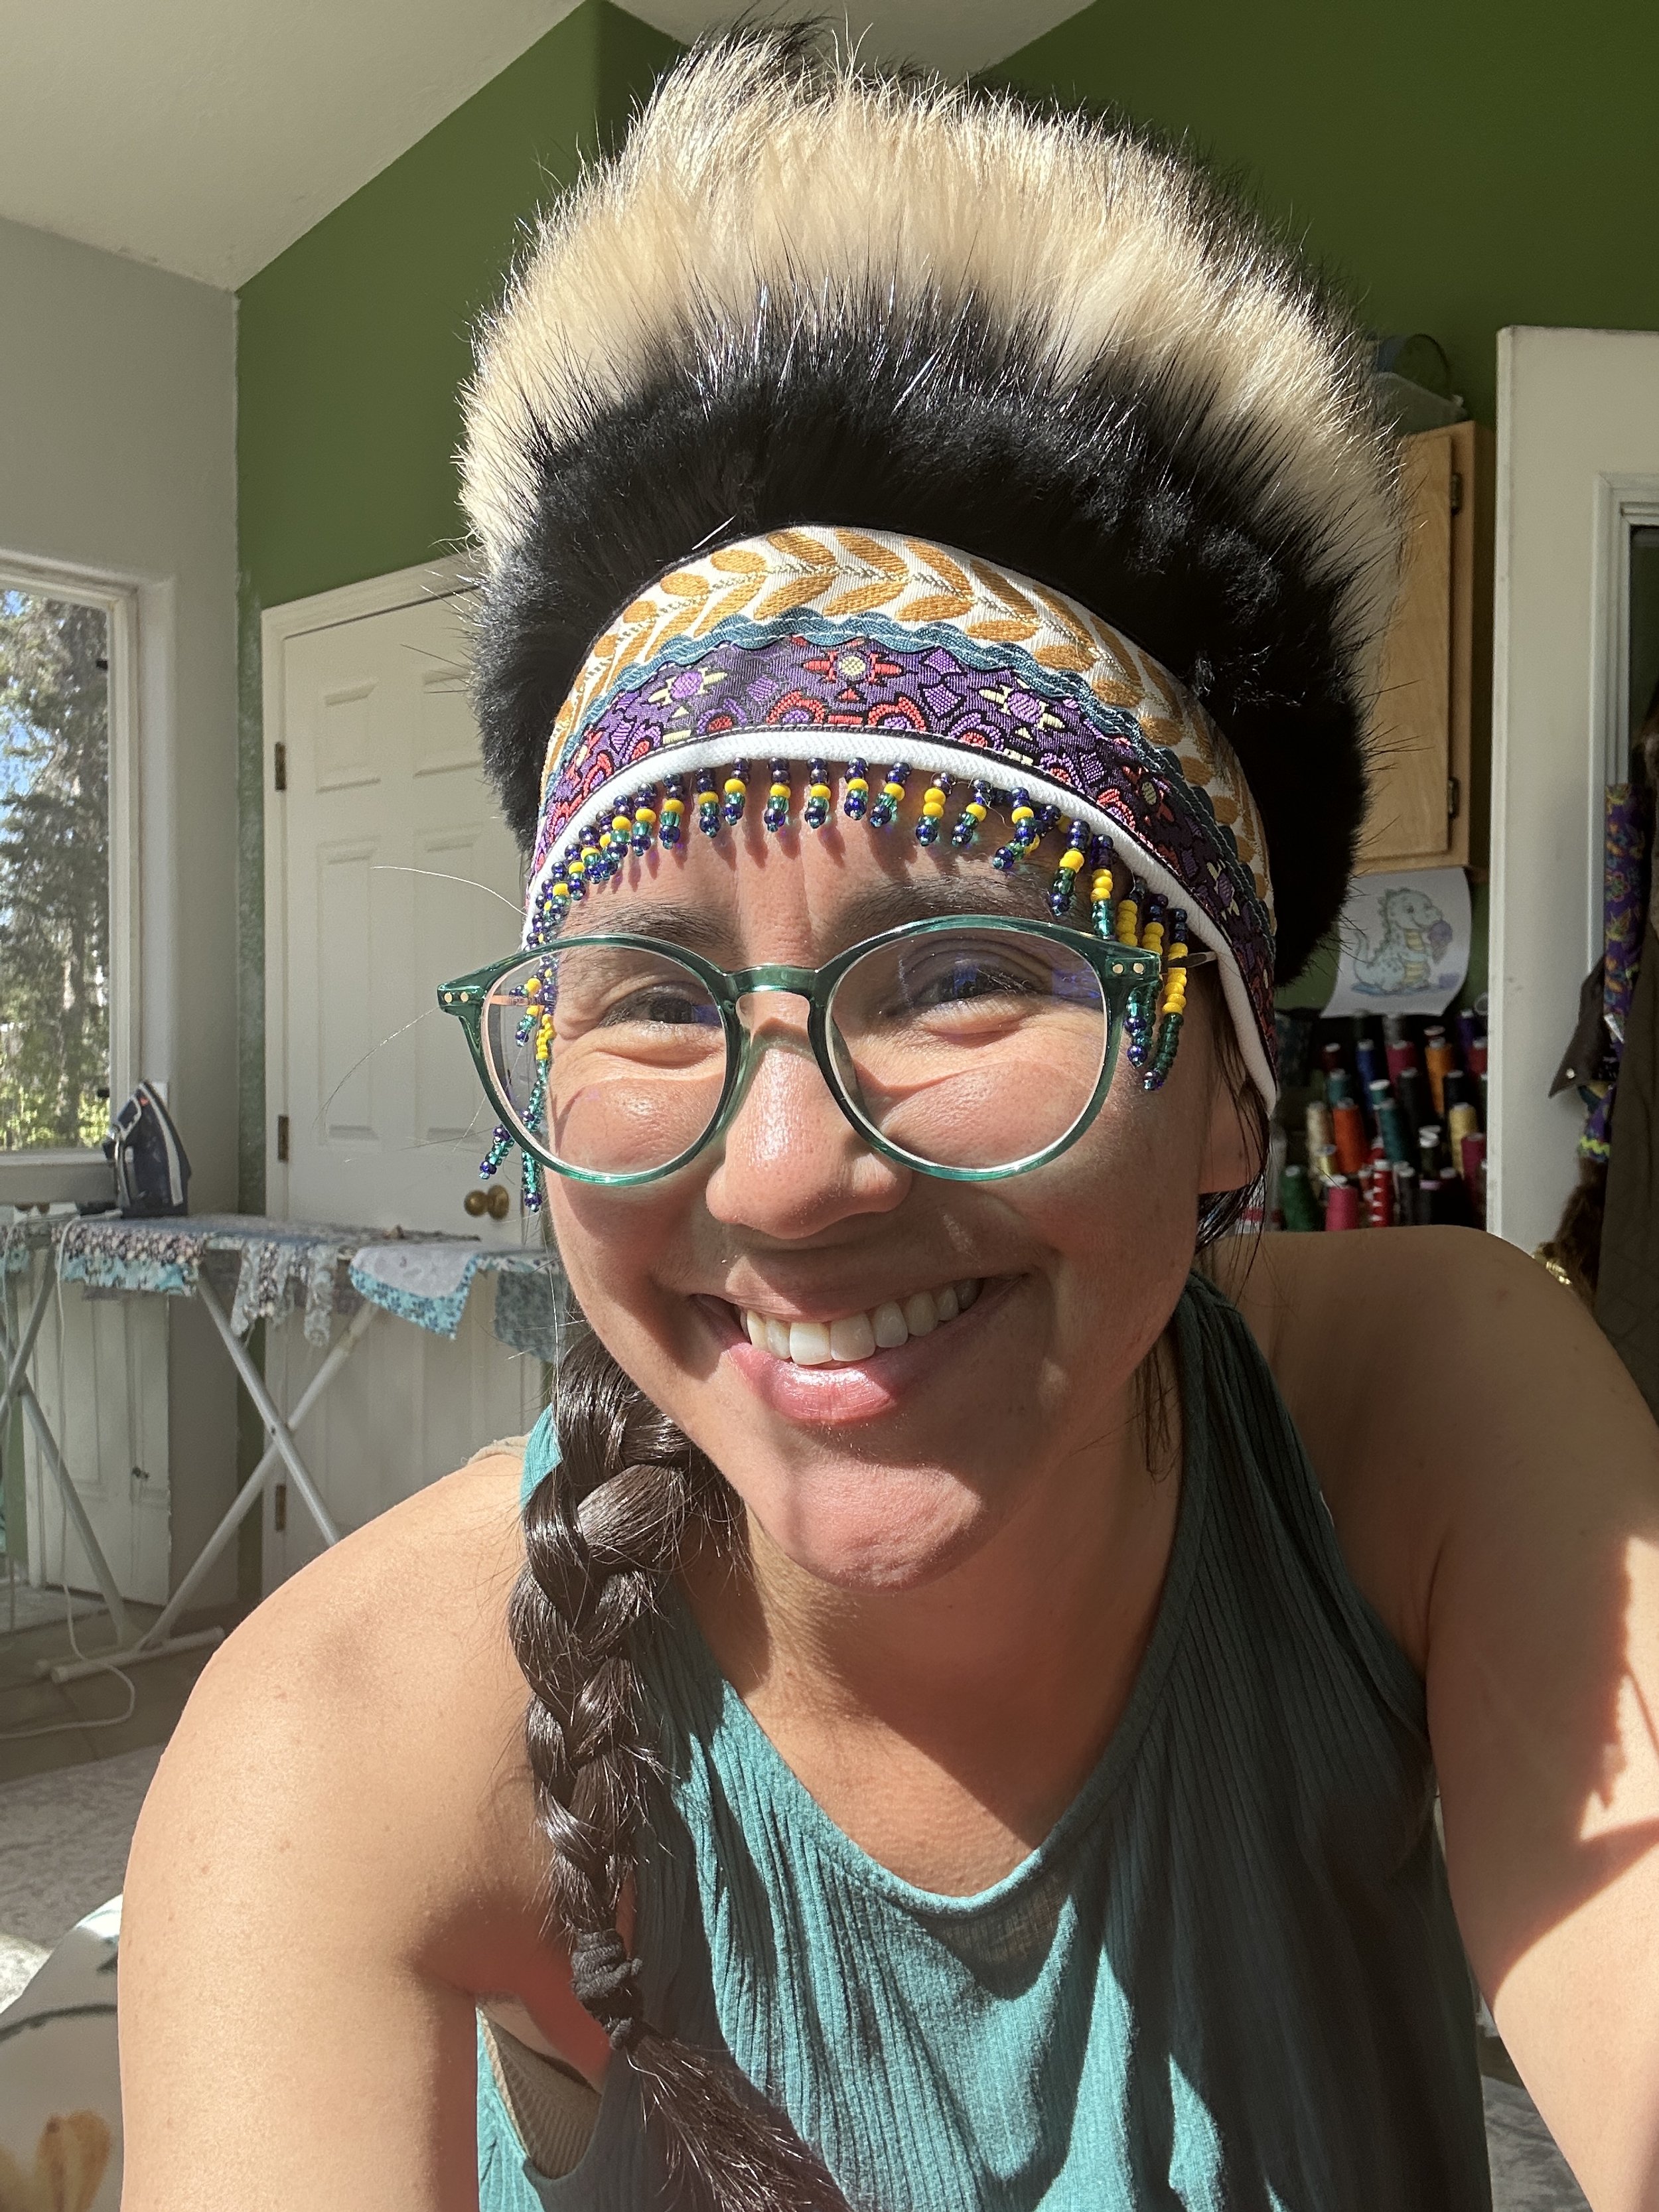
💫 Tuai! Your nasqurrun is complete. Wiinga aqa taqua!
🌟 Stay Connected with Me!
Follow my journey, support traditional Yup’ik arts, and never miss an update on workshops, tutorials, and cultural storytelling:
🔗 Sew Yup’ik
📸 Instagram: @sewyupik
📘 Facebook: Sew Yup’ik
▶️ YouTube: Sew Yup’ik Channel
🧵 TikTok: @sewyupik
🌐 Website: www.sewyupik.com
💌 Stay in Touch
📧 Email: sewyupik@gmail.com
If you would like download the PDF it is below. If you make a nasqurrun please tag me on social media. Quyana Chuck Norris!
Here is the YouTube for reference: https://youtu.be/xSdluEebTec